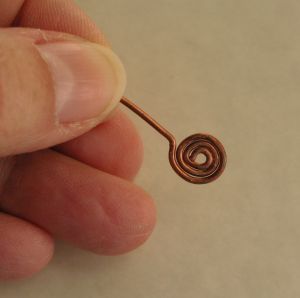
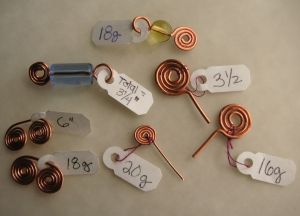
When I first started making jewelry, I wondered if I would ever be able to make clean and consistent spirals – it seemed that whenever I finally got one to look good, I could never duplicate it! So I started making up wire templates, complete with gauge of wire and length, so that once I learned to make spirals, I could recreate them over and over…
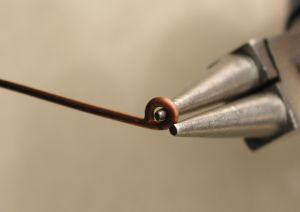
First, I cut a piece of wire 3 inches (this is 18g wire, for reference), and make a very small loop at one end using round nose pliers.
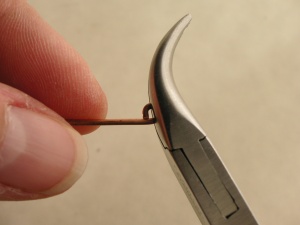
Next, I hold the loop in flat nose pliers (I am using bent-nose pliers, but you can use any flat pliers). I am holding the wire straight out, near to the base of the pliers, not at the tip, so that I can get a good grip on the loop.
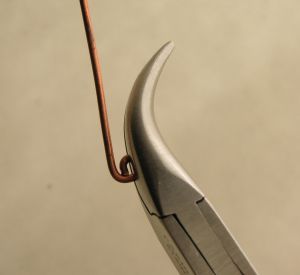
Holding the loop tight in the pliers (note how you can see part of the loop sticking out), now I bend the wire straight up, wrapping it along side the loop.
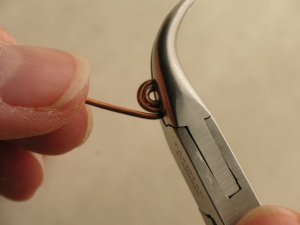
I reposition the loop in the pliers, and repeat, until the spiral is the size I want. I measure the wire left over from the spiral, and subtract it from the 3 inches I started with, to get the length of wire I used for the spiral.
I do this with different gauges of wire, and then mark the sample items with the both the measure and the gauge. This way I can just pull out a spiral, and duplicate it by using the same wires.
Making templates is easy, and saves me alot of time, effort and wasted wire. I make up examples in copper wire for links, clasps, earwires, and loops too, and store them in little ziplock bags. If you make wire jewelry, consider making up some sample wire templates – you’ll always have real examples of all different kinds of wire components easily available.
